

I made a dumb rookie mistake on day two of a 6-day canyon trip and assumed mountain water was automatically safe. It wasn’t. After a stomachache and two sleepless nights I swore off guessing and started carrying a portable ro water purifier on every trip.
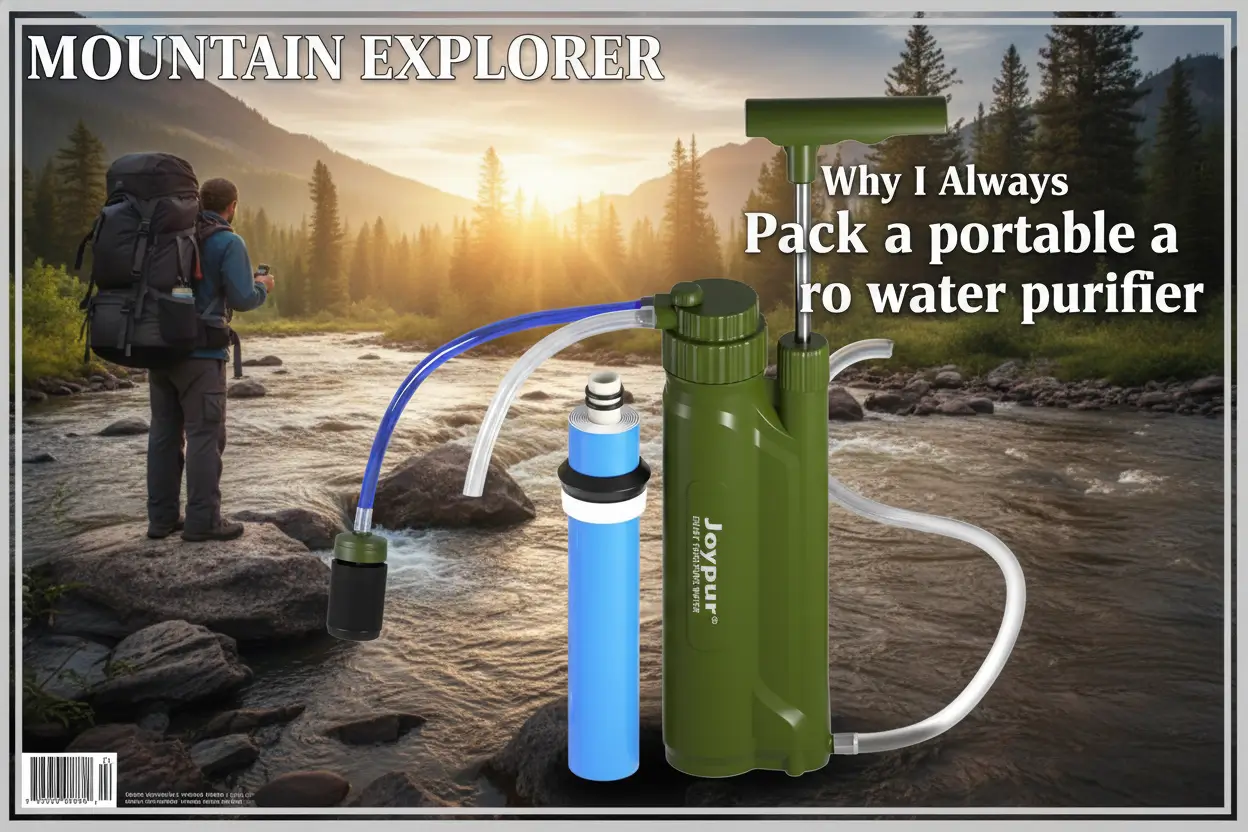
The portable ro water purifier I took on that trip uses a 3-stage system and a 0.0001 micron RO membrane that pulls out heavy metals, salts, sugars, odors, and some dissolved ions. It’s not glamorous, but it got me clean water fast. Who wants to gamble with raw stream water again?
When I Pull This Out On The Trail
If you travel like I do—lightweight backpacking, weekend camping, or spontaneous road trip detours—this is the gadget I reach for when the tap option is a trickle or non-existent. I’ve used it at a river crossing during a multi-day hike, in a friend’s off-grid cabin, and packed it for a hurricane-prep grab bag.
- Flights and carry-on: it’s compact enough to stash in a backpack or carry-on pouch without taking up suitcase space.
- Hostels and road trips: great when hostel taps are questionable or you’re filling up from a roadside spring.
- Emergencies: a survival-grade option for short-term outages or evacuation kits.
What Sold Me On It
I’m picky about gear durability, packability, and actual performance. This 3-stage portable ro water purifier checks the boxes that matter in the field:
- RO membrane precision: The 0.0001 micron reverse osmosis membrane is the core feature. In plain terms, it filters out contaminants that simple carbon or ceramic filters can miss.
- Three-stage filtration: Multiple layers mean sediment and odors get caught up front, then the RO membrane handles dissolved ions and heavy metals.
- Portable size and packability: It’s small enough to squeeze into daypacks, stuff sacks, or a glove compartment without adding noticeable weight.
- No charging required: For me, reliability beats bells and whistles. No batteries or cables to manage makes it low-maintenance for long trips.
- Simple maintenance: Rinse and store dry. I’m not dealing with complicated filters in a hostel sink.
How I’d Choose Between Similar Options
I’ve tested a handful of filters and pumps, and here’s the short checklist I use when deciding which to buy or pack. It’s pragmatic and reflects real trade-offs.
- Contaminant needs: If you’re mostly concerned about crud and parasites, a lighter ceramic filter will do. If you want heavy metals and dissolved salts gone, the RO membrane is worth the extra bulk.
- Weight vs performance: If I’m doing alpine fastpacking, I trade some filtration power for lighter gear. For multi-day basecamp trips or emergency kits, I accept a bit more weight for RO-level purification.
- Maintenance and spare parts: Can I replace membranes or pre-filters easily? I avoid options that lock me into proprietary replacements I can’t source on the road.
- Packability and storage: I check whether the unit collapses or fits into small compartments; I’m ruthless about reclaimed space in backpacks and suitcases.
How I Actually Use It In The Field
I keep my routine simple so it works when I’m tired or it’s raining.
- Prep: I carry a small, clean collection bottle and a microfibre cloth. I park the purifier near the water source, away from mud or silt.
- Pre-filtering: I strain large debris through the cloth into the reservoir. That initial step stretches the life of the RO membrane and keeps the pump happy.
- Pump and filter: I attach hoses, pump for the specified number of strokes if it’s manual, and collect purified water in my bottle. The three stages do their job and the output tastes neutral, not chemically.
- Dry and store: After use I flush with a little clean water, let the unit air-dry, and pack it in a zip pouch. No wet gear in a backpack is my rule.
- Regular checks: On long trips I inspect the membrane and pre-filters for clogging and replace parts if flow slows dramatically.
Mistakes I See Travelers Make With This Type Of Gear
- Assuming all filters are equal: I’ve watched people rely on cheap squeeze filters for chemically contaminated sources. They’re not the same as RO systems.
- Neglecting pre-filtration: Skipping a simple cloth straining step clogs membranes faster—I learned this the hard way after a muddy river session.
- Packing it wet: Storing wet components invites mold and a bad smell. I always dry mine before stashing.
- Overlooking replacement parts: People forget to pack or order spares. Know the expected service life of the membrane and filters for your trip length.
Buyer Doubts I Had (And What Actually Happened)
- “Is it too bulky?” For me the added grams are worth the reliability. It fits in my daypack and won’t push me into a bigger pack unless I’m carrying an expedition kitchen.
- “Do I need RO-level filtration?” If your route crosses agricultural runoff, old mining areas, or salty coastal streams, yes. For clear alpine springs I sometimes use a lighter option, but RO gives me confidence.
- “Maintenance sounds annoying.” It’s less fuss than you’d imagine. A quick rinse and air-dry after use, plus occasional pre-filter swaps, kept mine running across multiple trips.
- “What about durability?” I treat it like any piece of gear—no hammering it into rocks. So far it’s handled bumps and rough packing without leaking or breaking.
- “Is it safe for travel gear rules?” It’s TSA-friendly in a backpack, but if you’re flying with used water inside, don’t. I always empty and dry before airport security.
In short, the portable ro water purifier earned a permanent slot in my daypack because it gives me clean, neutral-tasting water without batteries or complex setup. If you’re a weekend backpacker, a road-tripper hitting unknown taps, or someone who likes an emergency-ready kit, this is the kind of practical investment that pays back in fewer stomachaches and more confidence on the trail.
Some links are affiliate. As an Amazon Associate, I earn from qualifying purchases – at no extra cost to you. It helps keep these finds coming. Thanks for your support!