
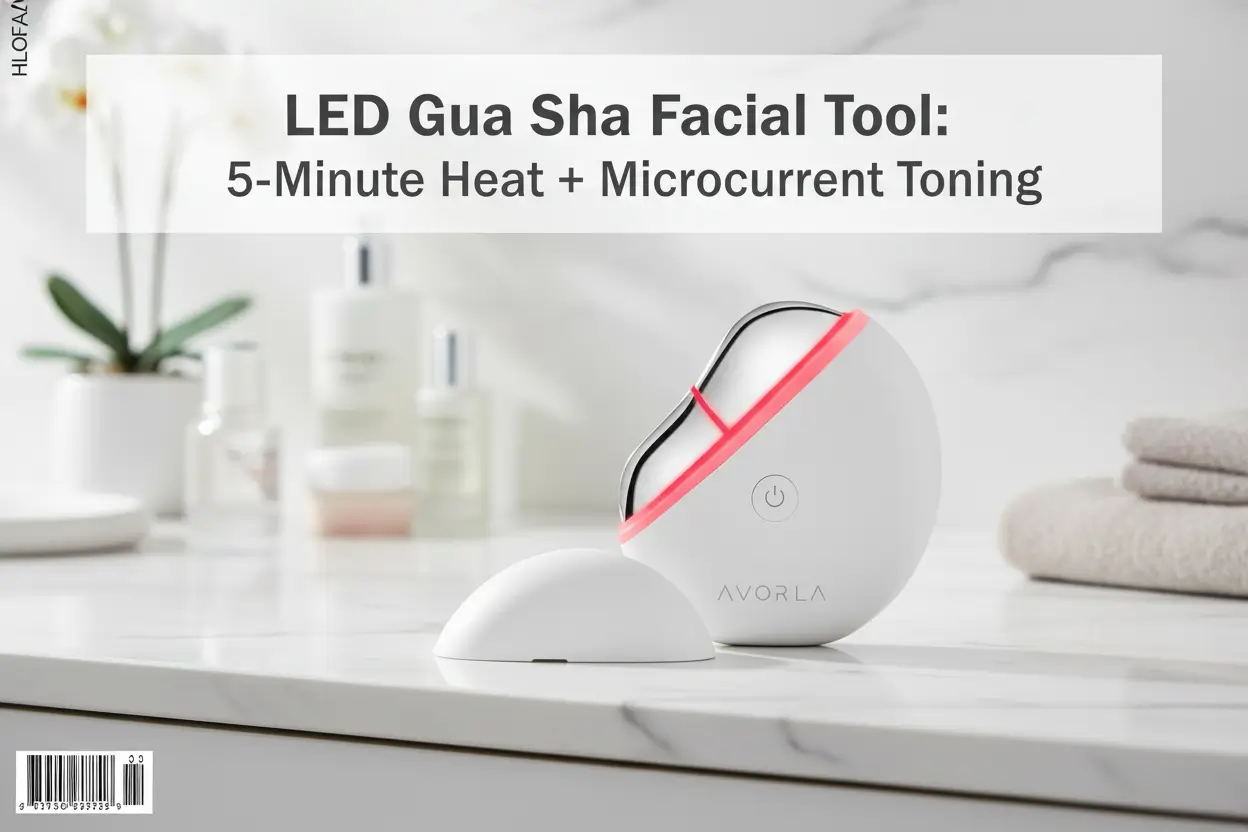

I didn’t think a led gua sha facial tool could replace my 30-minute ritual, but a 5-minute session with this gadget flipped my routine. It’s a gua sha-shaped handheld that pairs low-level electric current (microcurrent), LED light therapy and a heating function for a short, targeted facial toning session.
I tested it across mornings, before makeup, and after workouts to see if it actually helped with puffiness, firmness and the tired-eye look. Five minutes is an easy promise to keep — but does the device deliver real, visible improvements in texture, hydration appearance and facial contour? My experience surprised me. Want to hear what worked and what didn’t?

Why This Earned a Spot in My Routine
I travel a lot, work long days and love a minimal skincare lineup that actually pulls its weight. This device won me over because it fits three key needs: quick results, portability, and an easy self-care ritual I will actually do. On groggy mornings I use the heat to relax tight muscles and follow with the microcurrent setting to target my cheeks and jawline. Post-gym, the LED light and a gentle sweep across my face help reduce the look of puffiness so my skin looks fresher before I even cleanse.
If your life is two meetings, a workout and a dinner, and you want a compact tool that adds tone and a brighter finish to your daily routine without loading on more products, this is for you. It’s also a great add for anyone building a capsule skincare approach – a tool that works with serums and hydration steps instead of replacing them.
The Details That Actually Matter
- 3-in-1 action – low-level electric current (microcurrent) for facial toning, LED light therapy for complexion refresh, and a heating function to boost comfort and circulation-looking warmth.
- 5-minute sessions – the device is designed for short, repeatable treatments so you’ll stick with it even on rushed days.
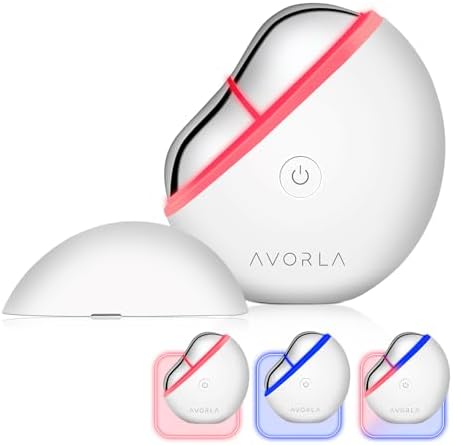
- Gua sha-inspired shape – the sculpted edges sit along cheekbones, jawline and under-eye areas to contour with guided pressure while delivering current and light.
- Skin-friendly use – I pair it with a hydrating serum or conductive gel (non-comedogenic, water-based) so the device glides without pulling and the skin barrier feels supported.
- Texture and finish – after use my skin reads smoother and more lifted, with a dewy finish that plays well with foundation or skin tint. It doesn’t leave a greasy residue, so absorption of serums stays efficient.
- Travel-ready – compact shape fits my gym bag or carry-on easily; no bulky cables needed for short sessions.
What I Check Before Buying (Quick Buyer’s Guide)
I size up similar tools using these criteria so I don’t end up with something that sits in a drawer.
- Skin type compatibility – If your skin is oily or acne-prone, use a non-comedogenic conductive gel. If sensitive, start with the lowest current and short sessions to test tolerance.
- Intensity control – I prefer devices with adjustable current levels so I can progress from gentle to stronger tones as my face adapts.
- LED options – Red light is my go-to for a fresher look; check whether the device gives a single wavelength or multiple.
- Convenience – Charging, portability and how easy it is to clean matter. Simple shapes that fit jawlines and under-eye hollows are more useful day to day.
- Routine fit – Think when you’ll use it: morning for de-puffing, night for relaxation, or post-workout for circulation. Pick a tool you’ll actually reach for.

How I Actually Use It Day to Day
- Prep – I cleanse, then apply a thin layer of water-based conductive gel or hydrating serum so the device glides and the microcurrent transfers. Hydration first helps protect the skin barrier and improves absorption.
- Warm-up – I switch on the heating function for about 30 seconds to relax my facial muscles and ease tension – great for mornings when I look puffy.
- Microcurrent round – I choose a low to medium intensity and do 2-3 passes along each cheek and jawline, following the gua sha contours. Total microcurrent time is usually 2 minutes per side.
- LED finish – I finish with a minute of LED light over my T-zone and under-eyes to brighten the overall tone. It’s short, so it slips into a rushed routine easily.
- Seal – I follow with my moisturizer and SPF if it’s daytime. The device plays nicely with serums and gives skin a smoother canvas for makeup, whether I want a matte or dewy finish.

Mistakes I See People Make With These Tools
- Skipping the conductive gel – I used to think the device could work dry; it can’t. Gel prevents pulling and helps current transfer safely.
- Using too much pressure – This isn’t a scraping tool. Light to medium pressure is enough; heavy-handed scraping can irritate the skin barrier.
- Ignoring sensitivity – If your skin reddens easily, don’t power through. I start on the lowest setting for several days and watch how my skin responds.
- Expecting overnight miracles – I’ve seen incremental improvements in firmness and puffiness over weeks, not dramatic single-use changes.
- Using it with incompatible products – Avoid silicone-heavy or oil-only products under the device; they can block the current and reduce absorption.
If You’re Hesitating, Read This
I had the same doubts: will it make my skin break out, will the microcurrent feel weird, and will it actually fit my routine? Here’s how my doubts played out.
- Concern: It will irritate sensitive skin. For me, starting on low intensity and using a gentle, hydrating serum prevented irritation. If you’re very reactive, patch test and keep sessions short.
- Concern: It’s just another gadget collecting dust. The 5-minute promise is real. Because it’s quick and portable, I used it more than larger, time-consuming devices.
- Concern: Wrong for oily or combination skin. I have combination areas; using a non-comedogenic gel kept my skin clear. The device itself doesn’t add oil or clog pores.
- Concern: Overlap with existing tools. I still use my cleanser, serum and SPF. This tool layered into my routine to boost tone and reduce puffiness look, not replace skincare essentials.
I recommend this device if you want a compact, no-fuss tool that brings together microcurrent toning, LED light and heat for quick daily refreshes. It works best for busy people, travelers, and anyone building a minimal but effective self-care routine who wants to address puffiness, texture and firmness appearance without a heavy time investment.
Some links are affiliate. As an Amazon Associate, I earn from qualifying purchases – at no extra cost to you. It helps keep these finds coming. Thanks for your support!